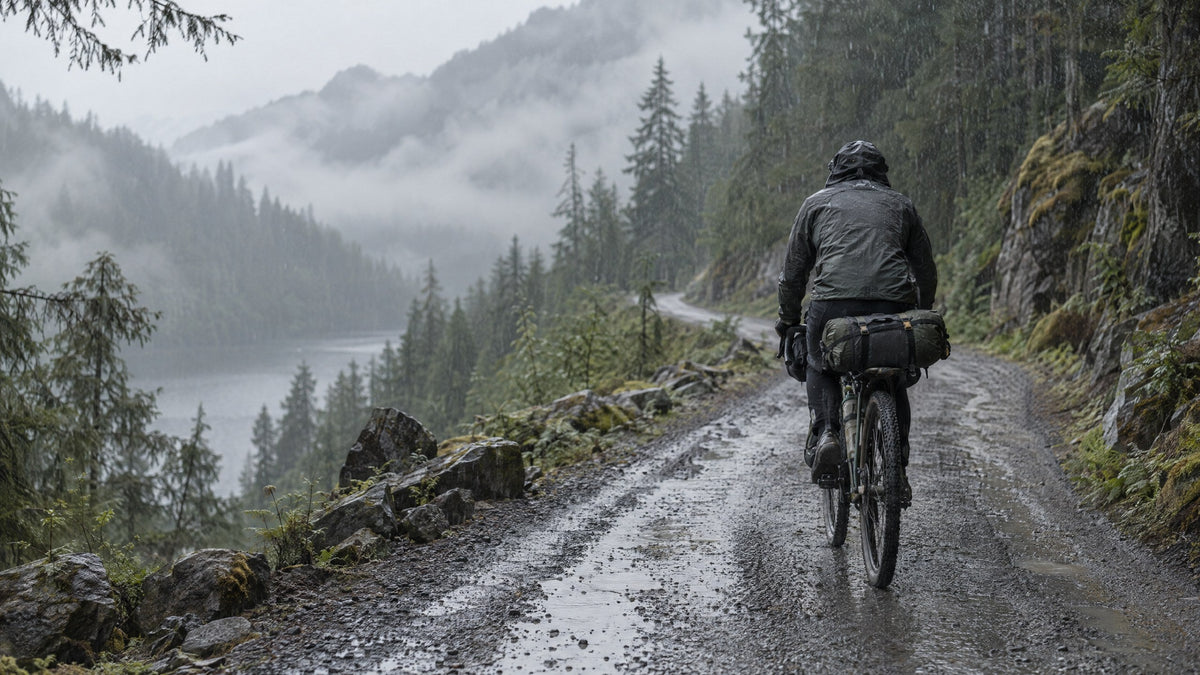
Article: Handlebar Bag vs Crossbody Bag
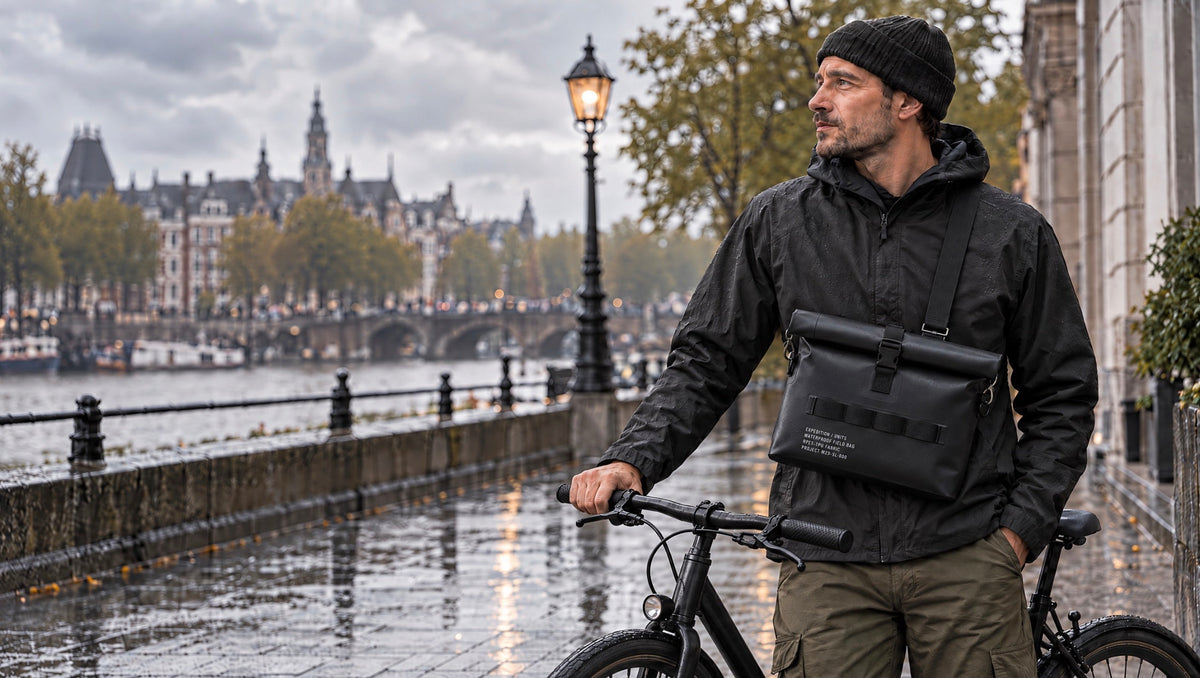
Handlebar Bag vs Crossbody Bag
Choose a handlebar bag when you want everyday essentials off your body, visible at stops, and easy to reach. Choose a crossbody bag when the day includes walking, trains, cafés, museums, or frequent bike-to-foot transitions. For many commuters and travellers, the useful answer is a field bag that can move between both roles—provided you check your bicycle, mounting instructions, and local safety rules before each ride.
Start with the job, not the bag
A field bag should make the next part of the day simpler. Think about where it needs to work: on a city ride, through a station, beside a desk, or while exploring on foot. Consider your route, your core kit, and how often you dismount. Choose the carry position that creates the fewest interruptions.
Choose handlebar carry when
- Your ride is the main part of the trip and you prefer less weight on your shoulders.
- You need a map, compact rain layer, lock key, or snack at a stop.
- Your essentials are compact and you can keep the load stable and balanced.
- You have confirmed the bag will not interfere with cables, lights, a display, or steering.
Choose crossbody carry when
- You leave the bike unattended and want core items to travel with you.
- Walking, public transport, or airport movement takes as much time as cycling.
- You want to transfer one small kit between bikes or rental bikes.
- Your handlebar area is already committed to a light, bell, phone mount, basket, or controls.
Crossbody carry is not automatically better for every ride. A bag that swings, sits too low, or restricts an arm can distract from pedalling and signalling. Adjust it close to the body, reduce the load, and move it out of the way before setting off. Likewise, handlebar carry is useful only when it is secure and leaves all controls free to use.
Five practical decision criteria
- Access pattern. Separate what you need at stops from what you need only at the destination. Keep the first group near the opening and the second lower in the bag. Frequent walking access favours crossbody mode; planned stops can favour handlebar mode.
- Load and volume. Test a typical kit: phone, wallet, keys, charger, layer, glasses, documents, and any small repair items. Dense objects can affect steering when mounted up front, while a heavy shoulder bag can become tiring. Pack less before assuming you need more capacity.
- Route and surface. Potholes, cobbles, gravel, and repeated curbs demand a more stable setup than smooth streets. On rough routes, minimise movement, protect delicate items, and re-check the attachment during the day.
- Transition frequency. Count your bike-to-foot changes. One arrival at an office favours a stable bike setup. Several errands, a station change, or sightseeing favours a bag that is quick to carry away.
- Weather plan. A bag is part of a system, not the whole plan. Protect sensitive gear appropriately, close the bag as designed, and avoid assuming any setup is invulnerable to weather.
Safety and mounting checks before the ride
Fit a handlebar bag slowly the first time, with the bike stationary. Follow the bag’s instructions and any bicycle-maker guidance. Use only intended attachment points and supplied or approved hardware. The bag should not block your view, cover a required light or reflector, obstruct the bell, trap cables, or compromise access to brake and shift controls. Do not treat a photo or another rider’s setup as proof that it will suit your bicycle.
Check clearance through the full movement
- Turn the bars fully left and right and watch for contact with the frame, head tube, cables, or accessories.
- Account for front-suspension movement, if fitted, and tyre clearance on your setup.
- Confirm that the bag cannot rest on the front wheel, fender, or brake components.
- Check that straps, loose ends, and elastic cannot reach the wheel, spokes, drivetrain, or controls.
- Test the loaded bag at walking pace in a safe area before a busy route.

A 30-second pre-ride routine
- Give each attachment and strap a firm visual and hand check.
- Close the bag and secure loose webbing or cords.
- Confirm the front light, bell, display, and brake levers remain unobstructed.
- Lift the bag gently to check for movement, then re-check after the first rough section of road.
Stop and adjust if the bag shifts, touches a moving part, affects steering, or changes your ability to operate the bike. Repeat the check whenever your packing changes.
A simple packing routine for everyday travel
Good packing is predictable retrieval. Start with a repeatable core: wallet, keys, phone, identification, and a compact charging option. Put those in the same pockets every time. Add a route layer—light shell, sunglasses, snack, transit card, or notebook—according to the day. Add an activity layer, such as a camera accessory, travel adapter, or light repair kit, only when the plan calls for it.
- Place soft items against the bag wall to cushion hard objects.
- Keep sharp or rigid tools contained so they cannot wear through other items.
- Put the heaviest pieces close to the bike or your body, depending on carry mode.
- Leave an access zone for the one item you will need first at a stop.
- Before rolling away, remove anything that could rattle, shift, or be damaged by compression.
For crossbody carry, shorten the strap before riding and keep the bag from sliding toward your back. For handlebar carry, resist hanging extras from the exterior. A cleaner silhouette is easier to inspect and less likely to create unwanted movement.
Field bag versus backpack
A field bag and a backpack solve different versions of the same problem. A field bag is strongest when the load is modest, access matters, and the day includes frequent transitions. It can be easier to bring into a café or through a station without removing a full pack. When mounted, it can also reduce the feeling of a load against your back.
A backpack is often the better tool for bulkier layers, longer travel, or a load that needs to stay with you off the bike. It concentrates capacity on your body rather than your steering, but may feel warmer and makes a heavy load more noticeable. Choose based on volume, ride length, and how much walking follows the ride—not on a rule that one style is always superior.
- Use a field bag for a compact daily kit, high access, and quick bike-to-foot changes.
- Use a backpack for larger or irregular loads, extra clothing, and days when bike mounting is not appropriate.
- Use both selectively when a field bag holds essentials and a backpack carries occasional overflow.
Gear for this guide
The PROJECT M23 Waterproof Field Bag is listed for handlebar and crossbody/shoulder use. Its product page lists a 5L capacity rolled down and 8L rolled up, dimensions of 25cm H × 28cm W × 9cm D when rolled down, and a 350g weight. It also lists two adjustable Velcro straps, an adjustable shoulder strap, and an elastic rope. Check current product instructions, your bike’s clearance, and the fit of your load before choosing a configuration.
For a photo-led day, review the PROJECT C40 Camera Block product details alongside your camera and intended field bag. For days beyond a compact essentials kit, compare your needs with the PROJECT 8020 Waterproof Backpack. Think in modules: essentials first, activity-specific protection second, then extra volume.
Choose the carry mode that keeps the day moving
Choose handlebar carry when a secure, clear cockpit and quick stop-time access will make your ride easier. Choose crossbody carry when movement after the ride matters just as much as the ride itself. Start with the smallest practical load, inspect the setup every time you mount it, and let your route decide. A field bag works best because it can adapt to the next part of your day.