How to Pack a Bike for Wet-Weather Bikepacking
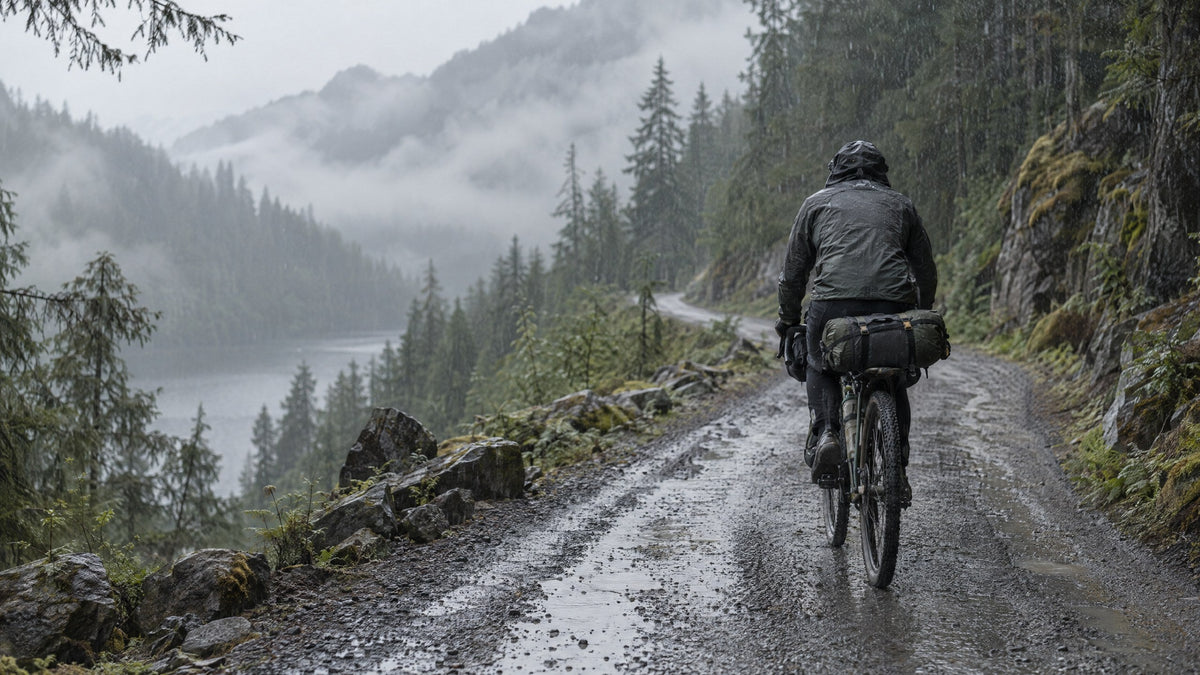
Wet-weather bikepacking is easier when every item has a predictable place. Put dense, heavy gear close to the bike’s centre; keep soft, bulky equipment compact at the rear; and reserve easy-access space for the items you may need before the next stop.
The goal is not to attach as many bags as possible. It is to create a carrying system that is stable, easy to check and simple to close again when the weather changes. This guide is about planning load distribution; always follow the fitting instructions supplied with your bicycle and each bag.
1. Sort the kit before you put anything on the bike
Before selecting a bag, divide your equipment into three practical groups. This one step makes packing faster and helps prevent a common problem: putting an item where it fits rather than where it will be useful.
- Dense essentials: tools, repair kit, spare tube, compact pump, lock, stove, power bank and food that can take a little compression.
- Soft and bulky items: spare clothing, insulating layers, a compact sleep system and other equipment that can be rolled or compressed.
- Frequently needed items: gloves, snacks, phone, map, front light, rain layer and small personal essentials.
As a general principle, dense weight belongs low and close to the bike’s centre. This helps keep the load predictable when the route becomes rough or the day gets long. Soft items can work well in a rear carry position, while things you use repeatedly should be accessible without unpacking the entire system.

2. Use the frame triangle for dense essentials
The frame triangle is often a useful place for compact, dense gear because the load sits near the centre of the bike. Tools, repair equipment, a compact pump, spare parts, a lock, a small stove or food can be easier to manage here than when they are carried high or far behind the rider.
Do not treat every frame as the same. Measure the usable space inside your frame triangle, then account for cable routing, bottle mounts, suspension components and any accessories that share the area. A good fit should leave enough clearance for normal pedalling and steering, without forcing straps, cables or fabric into contact with moving parts.
Before buying or fitting a frame bag:
- Measure the usable triangle rather than relying on the bicycle size label.
- Check where cables and hoses run when the bars are turned.
- Review the bag’s current dimensions and mounting instructions.
- Load the bag gradually, then check for rubbing, pressure points and knee clearance.
The PROJECT F01 Waterproof Frame Bag product page lists a 3L capacity. Check the live dimensions, mounting guidance and compatibility with your frame before ordering or riding with it loaded.
3. Put soft, compressible equipment at the rear
A saddle bag is often a better home for gear that is light but takes up volume: spare clothing, a compact insulation layer, sleep items or other soft equipment. Keep the heaviest tools and hard objects out of this area where possible. They are generally easier to manage nearer the frame, while the rear is better suited to items that can be packed tightly and do not need constant access.
Pack the rear in a consistent order. Place the items you need last near the opening, compress the rest evenly and make sure nothing can work loose on rough surfaces. If you expect to remove a layer several times during the day, avoid burying it underneath your overnight kit.
The PROJECT S01 Waterproof Saddle Bag page lists 5L/7L capacity depending on how it is rolled. Confirm its fitting guidance and its current dimensions on your bike before using it for a trip.
4. Use handlebar and back carry for access—not as the default place for weight
A handlebar bag can be useful for light items you need on the move. A backpack can be appropriate on trips where the bicycle cannot carry every necessity. Neither is automatically the right place for dense weight: when possible, placing the heavier pieces lower and more centrally can make the whole setup easier to manage.
Before you assign an item to the handlebar or your back, ask:
- Will I need this before the next stop?
- Can I reach it without opening several bags?
- Is it too heavy or bulky for this position?
- Would moving it toward the frame make the ride feel more predictable?
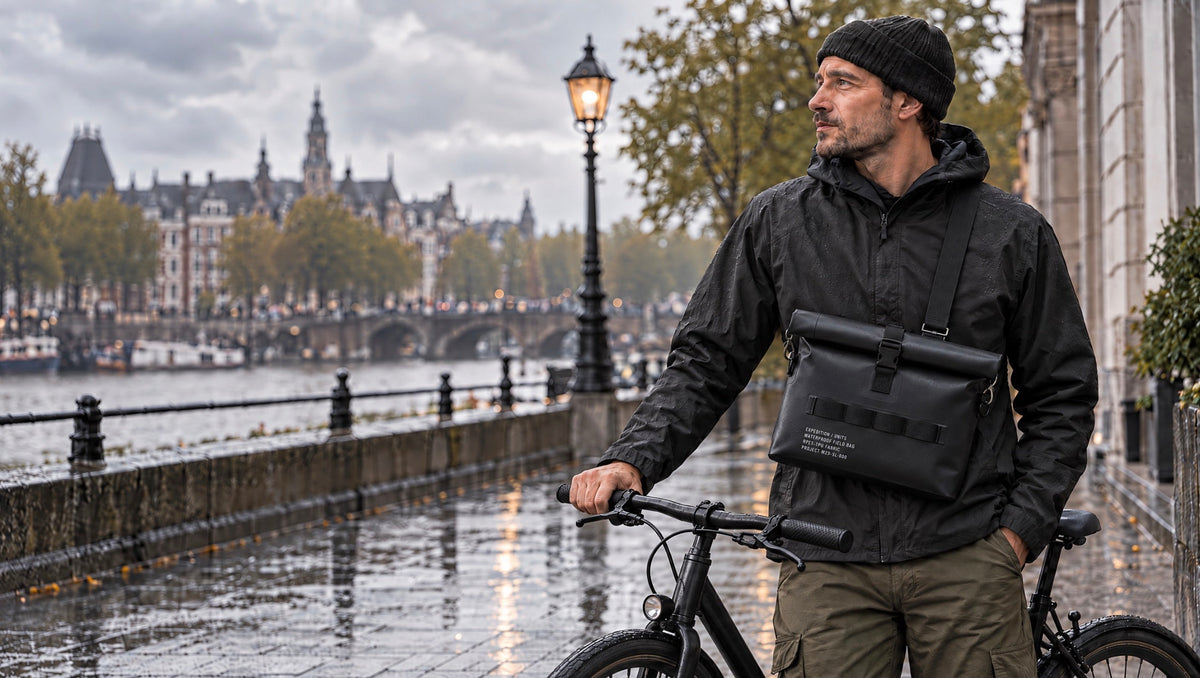
The PROJECT M23 Waterproof Field Bag is presented by Expedition / Units as a handlebar and shoulder bag. The live product page lists included attachment straps and a 5L/8L capacity range; check your handlebar space, cable clearance and the current fitting guidance before use.
5. Pack for rain with the same order every time
Rain does not have to turn a ride into a full repacking exercise. A repeatable system makes it easier to find what you need, protect items from unnecessary exposure and close the setup again without losing small parts.
First: place repair essentials near the frame
Keep the repair kit, tools and spare parts together. If something needs attention on the roadside, you should be able to find the essential equipment without emptying a bag full of clothing.
Second: compress soft gear at the rear
Pack spare layers and other soft items in a way that keeps them compact. Separate anything that might leak, contaminate or damage other equipment. If you use packing pouches, make their contents consistent from trip to trip.
Third: reserve quick-access space
Gloves, snacks, navigation, a light and a rain layer are more useful when you can reach them without disturbing the rest of the load. The best arrangement is simple enough that you can open it briefly, take one item and secure it again when conditions change.
Fourth: do a short check before leaving
Walk once around the bike before the first kilometre. Check that straps are secure, luggage is clear of tyres and cables, steering moves freely, pedals are unobstructed and nothing is loose enough to move on rough terrain. Recheck after the first short section of the ride, especially with a new packing setup.
6. Wet-weather bikepacking checklist
Before you set off, check:
- bag mounting points and straps;
- tyre, brake and cable clearance;
- repair kit, pump, spares and a plan for a mechanical issue;
- food and water for the route;
- a protected place for phone and electronics;
- a spare-layer plan;
- access to the items you will need before the next stop.
This list is not a replacement for route planning, weather awareness or safe-riding decisions. It is simply a way to make your carry system more predictable before conditions become more demanding.
Gear for this guide
Build the system around your own bike, trip length and packing list. Check the current product details before choosing a setup:
- PROJECT F01 Waterproof Frame Bag for a frame-triangle carry option;
- PROJECT S01 Waterproof Saddle Bag for soft, compact equipment at the rear;
- PROJECT M23 Waterproof Field Bag for an accessible handlebar or shoulder-carry option;
- Waterproof Bikepacking Kit to review the current three-bag combination, its contents and live specifications.
Final thought
The most useful bikepacking setup is one you can understand at a glance. Keep dense gear low, soft gear compact, frequently needed items accessible and every bag properly fitted before the ride starts.
That leaves more attention for the route and less time searching for equipment when the weather turns.